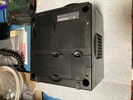
IMG 0189
Turn Cube Upside Down
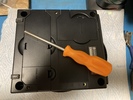
IMG 0190
Get Security Screwdriver
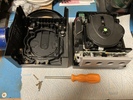
IMG 0191
Remove 4 screws down holes at corners
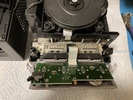
IMG 0192
Unclip controller socket board from pillars
** DONT ** Pull out ribbon cable
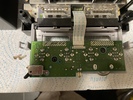
IMG 0193
Remove screws holding grey plastic
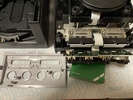
IMG 0194
Remove grey plastic
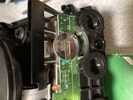
IMG 0195
Unsolder the Battery noting + to left
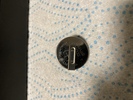
IMG 0196
CR2032 Battery with 2 solder tags not 3!
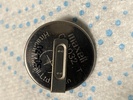
IMG 0197
Battery Close Up
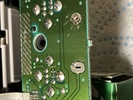
IMG 0198
Clean up holes in PCB ready for new battery
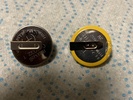
IMG 0199
New Battery beside old one
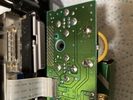
IMG 0200
Solder new battery to PCB
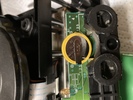
IMG 0201
New Battery from other side
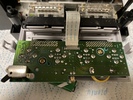
IMG 0202
Screw grey plastic back on to PCB
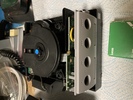
IMG 0203
Clip front panel back on to pillars
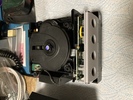
IMG 0204
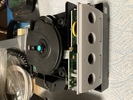
IMG 0205
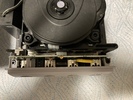
IMG 0206
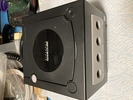
IMG 0207
Reassemble bottom cover and refit screws
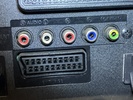
IMG 0208
TV Connectors
Image taken in error!
Deleted
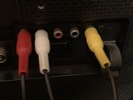
IMG 0210
GameCube Video Cable connections
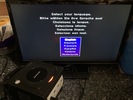
IMG 0211
First switch on
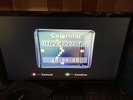
IMG 0212
Set Clock
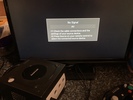
IMG 0213
Switch off and wait
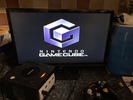
IMG 0214
Switch on after a while
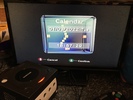
IMG 0215
Time still correct